

-
1
Create document
.Go to . You will open a window (image below) where you can define the settings of the document.
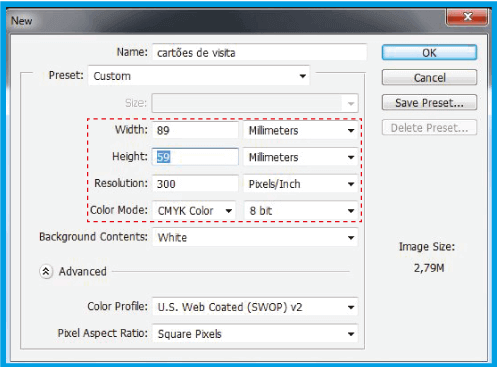
.Add another 0.155″ (4 mm) to the height and width so that your document has enough margin for the cut.
.It is important that you put 300 dpi resolution to ensure the quality of the images as well as select the to avoid unexpected colors at the time of printing.
-
2
BLEED
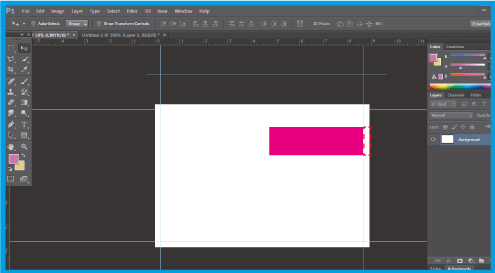
.Increase the size of the by applying guide lines at the edges of the document. If you do not have visible guide lines, go to and choose .
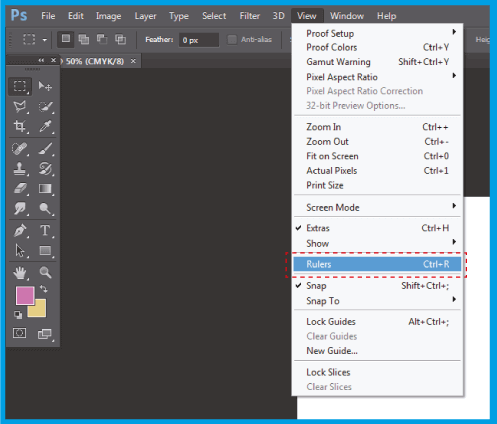
.Click on the ruler and pull the guides until the end of the document.
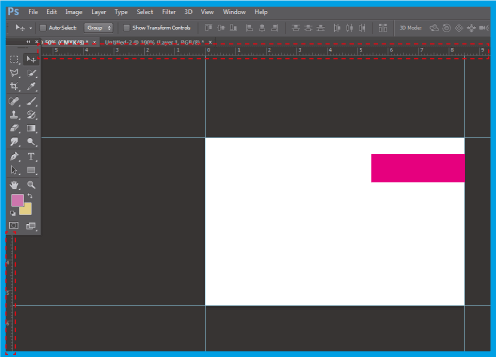
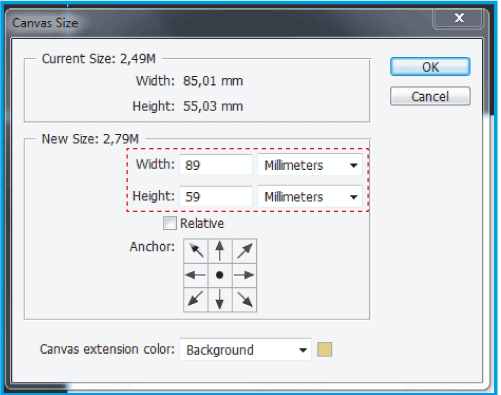
.Go to the top menu .
.In (image below) indicate the size of your document not forgetting to add another 0.155″ (4 mm) in height and width to create Bleed.
.Bleed lines will appear, so extend your template to the limits of Bleed. In the example below, the pink ornament should be extended to the new end created.
-
3
SAVE DOCUMENT
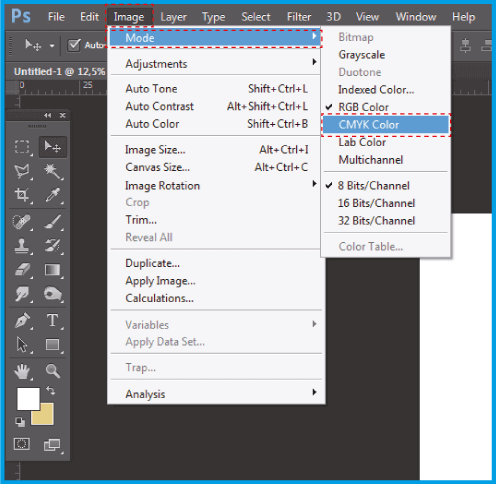
.Before saving the document, make sure you put it in so there will be no changes in color. Go to .
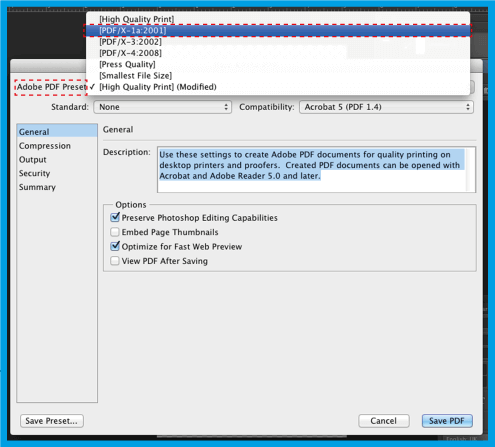
.Save the document in and select the format ..
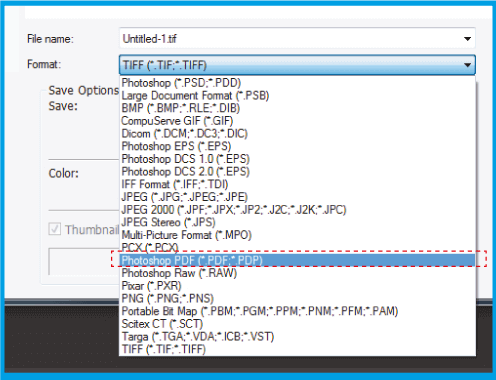
.In the window that opens, in select This option ensures that the PDF will not change.
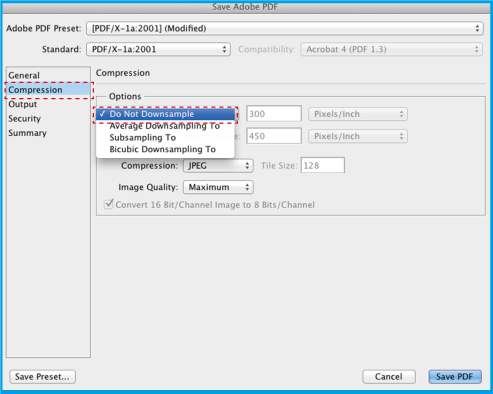
.On the left side click and then on the right side in .
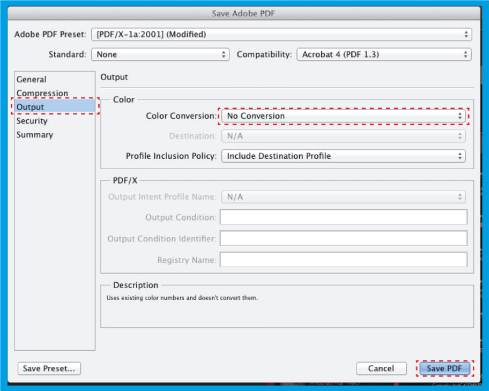
.Then select and on the right side in This option ensures that you save your file without any color prompts, and then click Save Preset..., save these PDF presets with whatever name you want, in order to .
Software guides - ADOBE® PHOTOSHOP